Imagine a rich, fragrant aroma wafting from your kitchen as you bake, filling your home with the comforting essence of pure vanilla. What if we told you that achieving this depth of flavor, often reserved for high-end store-bought extracts, is not only simple but also incredibly affordable to create right in your own pantry? Learning how to make Easy Homemade Vanilla Extract: Save Money & Upgrade Your Baking is one of the most rewarding culinary projects you can undertake. With just two core ingredients and a little patience, you can craft a superior vanilla extract that will transform your baking and elevate every dish.
This isn't just about saving money, though that's a significant perk. It's about control, customization, and the sheer joy of creating something truly special from scratch. Forget the days of imitation vanilla or wincing at the price of pure extract. Our comprehensive guide will walk you through the ultimate homemade vanilla extract recipe, ensuring you create a supply of liquid gold that’s perfect for gifting or for stocking your own kitchen indefinitely.
Why Craft Your Own Homemade Vanilla Extract?
For many home bakers, vanilla extract is a non-negotiable staple. But have you ever stopped to consider the quality and cost of what you're using? Pure vanilla extract can be surprisingly expensive, often leading some to opt for imitation versions that lack the complex, nuanced flavors of the real thing. This is where the magic of a homemade vanilla extract recipe truly shines.
Unbeatable Savings & Quality Control
One of the most compelling reasons to embark on this kitchen project is the substantial cost savings. Real vanilla beans, while an initial investment, yield far more extract over time than buying bottle after bottle from the store. You'll quickly discover that crafting your own is significantly more economical than purchasing even mid-range pure vanilla, let alone the premium varieties. Moreover, you gain complete control over the quality of your ingredients. You choose plump, aromatic vanilla beans and a spirit that meets your standards, ensuring a superior final product that often surpasses store-bought options.
Customization for a Personalized Touch
Beyond savings, homemade vanilla offers an exciting world of customization. While a classic, clean vanilla flavor is always a winner, you're not limited to just one profile. You can experiment with different types of alcohol to infuse varying levels of depth and warmth. Vodka provides a neutral base, allowing the pure vanilla notes to shine brightly. However, rum can introduce rich, caramel undertones, while bourbon lends a smoky, oaky complexity. This ability to tailor the flavor profile means you can create a vanilla extract perfectly suited for specific recipes or even a unique signature blend. To explore more about tailoring your vanilla to perfection, check out Elevate Your Baking: Customize Homemade Vanilla Extract Easily.
The Perfect Thoughtful Gift
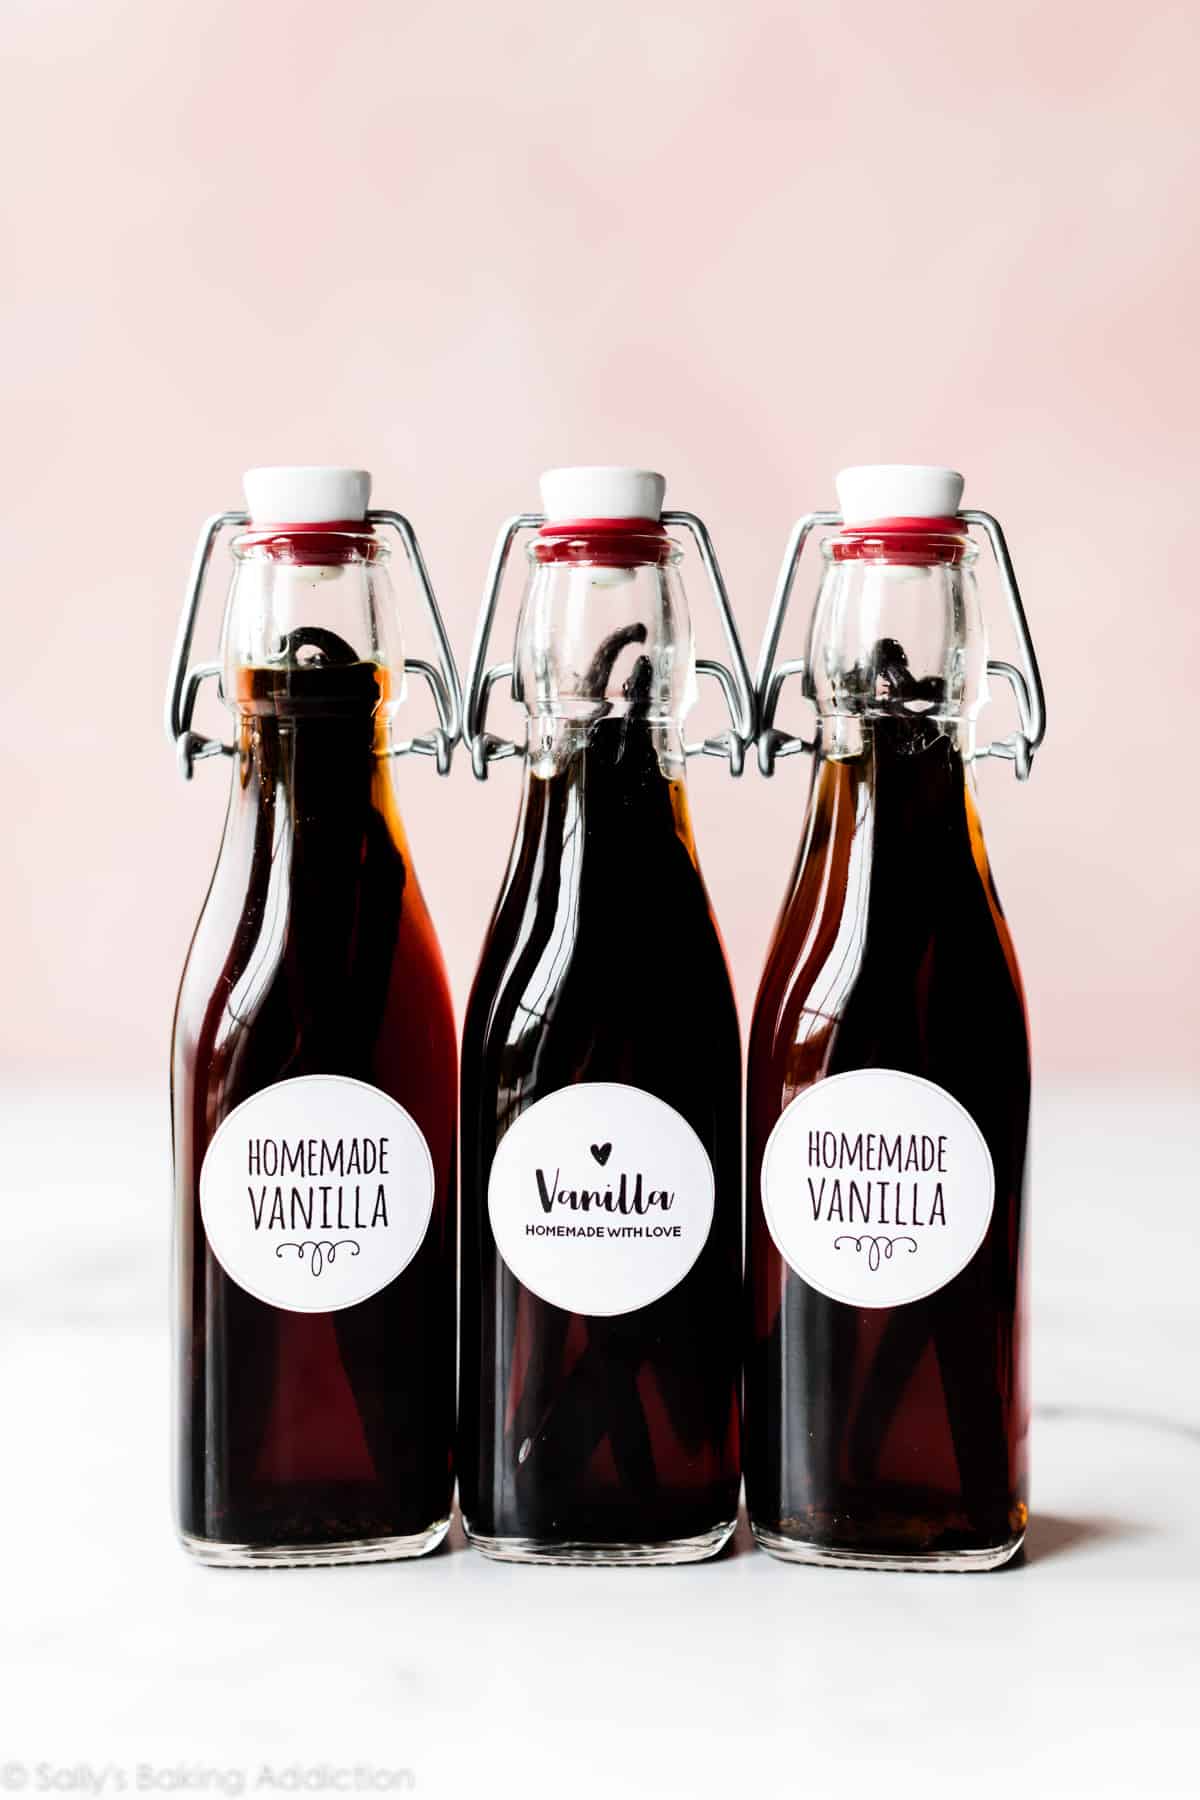
Looking for a heartfelt, practical gift for the bakers and foodies in your life? A beautifully bottled batch of homemade vanilla extract is an absolute winner. It speaks volumes about your thoughtfulness, and recipients will adore the unique, high-quality ingredient. It’s simple to make in larger batches, allowing you to create multiple gifts from a single infusion, making holiday preparations a little less stressful and a lot more special.
The Simple Homemade Vanilla Extract Recipe: Just 2 Ingredients!
The beauty of this project lies in its simplicity. You truly only need two ingredients to create rich, aromatic vanilla extract. The secret ingredient? Patience. Time is the unsung hero that allows the flavors to develop into pure, golden perfection.
Essential Ingredients:
- Vanilla Beans: The star of our show! Look for plump, moist, and flexible beans. They should feel slightly oily to the touch and emit a lovely fragrance. Avoid brittle or dry beans, as they won't yield as much flavor. Popular varieties like Madagascar (Bourbon) beans are a great choice for a classic, sweet vanilla profile.
- Alcohol (80 Proof): This is your flavor extractor. The alcohol acts as a solvent, pulling out all the aromatic compounds and oils from the vanilla beans.
- Vodka: Opt for a good quality, unflavored vodka. It's the most popular choice because its neutral taste allows the vanilla flavor to be the undisputed star.
- Rum: A dark rum can add wonderful warm, sweet, and slightly caramel notes, perfect for baked goods like spiced cakes or custards.
- Bourbon: For a richer, deeper extract with subtle smoky and oaky undertones, bourbon is an excellent choice. Great for chocolate desserts or richer holiday bakes.
Always ensure your chosen alcohol is 80 proof (40% ABV) for optimal extraction and preservation.
Equipment You'll Need:
- Clean glass bottles or jars with airtight lids (4-oz or 8-oz are great for gifting and individual batches).
- A sharp knife and a cutting board.
- Labels or tags to mark your bottles.
Step-by-Step Guide to Crafting Your Vanilla
This homemade vanilla extract recipe is incredibly easy to follow. Once you've gathered your ingredients, the active preparation time is minimal.
- Prepare Your Vanilla Beans: Lay each vanilla bean on a cutting board. Using a sharp knife, carefully slice each bean lengthwise, starting about half an inch from the top and going almost to the bottom. You want to expose the tiny, dark vanilla seeds (the "caviar") inside without cutting all the way through the bean. This crucial step allows the alcohol to fully penetrate and extract all the flavorful oils. If your beans are longer than your chosen bottles, you can cut them in half to fit.
- Fill Your Bottles: For every 4 ounces of liquid, you'll want to use approximately 3-4 whole vanilla beans (or their equivalent halves). Place the prepared beans into your clean glass bottles or jars.
- Add the Alcohol: Pour your chosen 80-proof alcohol over the beans, ensuring they are completely submerged. This is vital for proper extraction and to prevent mold growth on any exposed bean parts. Leave a small headspace at the top of the bottle.
- Seal and Label: Securely cap your bottles with airtight lids. Immediately label each bottle with the type of alcohol used (e.g., "Vanilla Extract - Vodka") and the date you started the infusion. This helps you track the aging process and identify different batches.
- Store and Shake: Place your labeled bottles in a cool, dark place, such as a pantry or cabinet. Once or twice a week, give each bottle a gentle shake. This helps to redistribute the beans and alcohol, promoting a more consistent and efficient extraction of flavor.
- Patience is Key: This is the most important step! While some flavor will develop within 6 weeks, true depth and richness require time. For the best, most robust flavor, allow your vanilla extract to steep for a minimum of 3 to 6 months. Many connoisseurs even let theirs age for a year or longer! The longer it sits, the more complex and potent the flavor will become.
Optional Finishing Touches:
- Straining: If you prefer a clear extract without any specks of vanilla bean, you can strain the finished extract through a fine-mesh sieve or cheesecloth before bottling for use.
- Leave the Beans In: For a more rustic appearance and continued flavor development, you can leave the vanilla beans in the bottle. This also allows you to "top off" the bottle with more alcohol as you use the extract.
Tips for Optimal Flavor & Longevity
Once you've made your first batch of homemade vanilla, you'll never look back. Here are a few extra tips to ensure your extract is always at its best:
- Top Off for Continuous Supply: One of the greatest advantages of leaving the beans in your bottle is the ability to create an endless supply of vanilla. As you use your extract and the liquid level gets low, simply top off the bottle with more 80-proof alcohol. Give it a good shake and let it steep again for a few weeks to re-infuse. Over time, you might need to add a fresh bean or two if the flavor starts to wane, but high-quality beans can last for many years.
- Mind the Environment: Always store your vanilla in a cool, dark place. Exposure to direct sunlight or extreme temperature fluctuations can degrade the quality of the extract over time.
- When is it Ready? The ideal aging time is subjective, but generally, around 3 months is a good benchmark for a usable extract. Taste a tiny drop on a spoon at this point. If it tastes strongly of alcohol, it needs more time. When you can distinctly taste the sweet, floral notes of vanilla, it's ready!
- Don't Be Afraid to Experiment: Once you master the basic homemade vanilla extract recipe, consider trying different bean varieties (like Tahitian for a more floral note) or even a blend of alcohols in your next batch.
Conclusion
Making your own vanilla extract is more than just a kitchen hack; it's a journey into flavor and a testament to the rewards of patience. From the significant cost savings and the ability to control ingredient quality to the endless customization possibilities, this homemade vanilla extract recipe offers unparalleled value. The act of crafting this golden liquid imbues your baking with a deeper, richer aroma and taste that simply can't be matched by store-bought alternatives. So, gather your beans and your spirits, embrace the waiting period, and prepare to elevate your culinary creations to a whole new level. Your taste buds, and those of your lucky recipients, will thank you.
