Easy Homemade Vanilla Extract: Save Money & Upgrade Your Baking
Imagine infusing your favorite baked goods with a rich, complex vanilla flavor that’s not only superior to anything you’d buy at the store, but also remarkably cost-effective. Learning how to make
homemade vanilla extract is one of the most rewarding and surprisingly simple kitchen projects you can undertake. With just two core ingredients and a little patience, you can unlock a world of aromatic possibilities, transforming your pantry and elevating every recipe. Forget expensive store-bought bottles or the flat notes of imitation vanilla – it’s time to craft your own liquid gold.
Why Make Your Own Vanilla Extract? The Unbeatable Benefits
The idea of making your own vanilla extract might sound daunting, but the truth is, it’s incredibly straightforward and comes with a host of compelling advantages that will have you wondering why you didn't start sooner.
Significant Cost Savings
Let's be honest, real vanilla extract from the grocery store can be shockingly expensive. High-quality pure vanilla extract often comes with a hefty price tag, making many home bakers opt for cheaper imitation versions that lack the depth and nuance of true vanilla. By making your own, you're investing in vanilla beans and alcohol directly, cutting out the middleman and significantly reducing the per-ounce cost over time. The initial outlay for quality beans and a bottle of spirits is quickly recouped, especially considering the long-term yield.
Unmatched Quality and Customization
When you make homemade vanilla extract, you gain complete control over the quality of your ingredients. You can hand-pick plump, fragrant vanilla beans and select an alcohol base that perfectly complements your desired flavor profile.
- Vanilla Beans: The market offers various types of vanilla beans, each with unique characteristics. Madagascar (Bourbon) beans are classic, sweet, and creamy, perfect for a traditional vanilla flavor. Tahitian beans offer more floral, fruity, and cherry notes, while Mexican beans bring a smoky, spicy richness. You can experiment with different origins to create bespoke extracts.
- Alcohol Base: While vodka is a popular choice for its neutral profile, allowing the vanilla to shine, other spirits offer exciting opportunities for customization.
- Vodka: Provides a clean, crisp backdrop, ensuring the pure vanilla flavor takes center stage. Ideal for baking where you want vanilla to be the dominant note without interference.
- Rum: Adds a warm, slightly sweet, and caramelized depth. Fantastic for recipes like custards, rum cakes, or even coffee.
- Bourbon/Whiskey: Imparts a smoky, oaky, and complex flavor that pairs beautifully with chocolate-based desserts, pecan pies, or as a unique addition to cocktails.
You can even explore spiced rum or other flavored spirits, though we recommend starting with unflavored alcohol to truly appreciate the vanilla's essence before venturing into more complex infusions.
The Perfect Thoughtful Gift
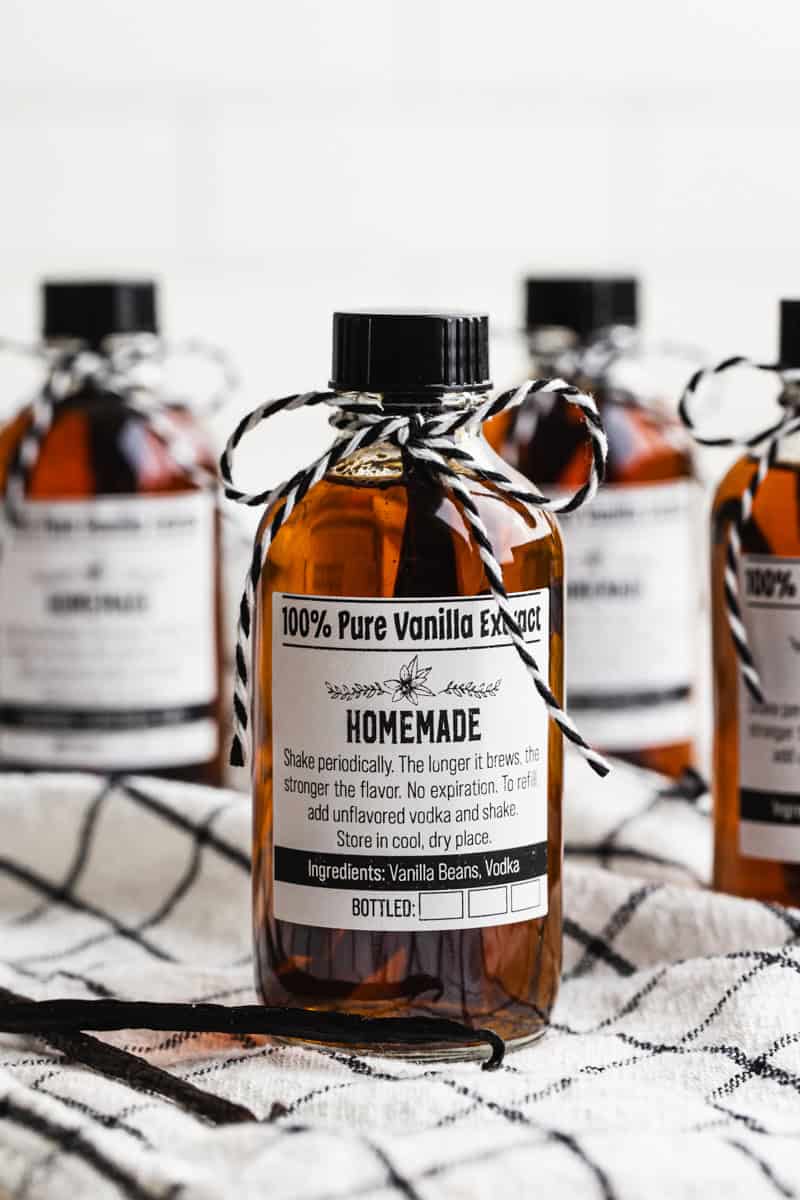
Homemade vanilla extract makes an exceptionally thoughtful and practical gift for anyone who loves to bake or cook. Presented in an elegant bottle with a simple ribbon and a personalized label, it's a gourmet present that shows you put in effort and care. It's especially cherished during the holidays or as a host gift, offering a touch of culinary luxury that friends and family will genuinely appreciate and use.
The Simple Ingredients for Your Homemade Vanilla Extract Recipe
Crafting your own vanilla extract requires only two core ingredients, making it an accessible project for any home cook.
1. Vanilla Beans
The star of the show! The quality of your vanilla beans directly impacts the flavor of your extract.
- What to Look For: Seek out plump, moist, and pliable beans. They should feel slightly oily to the touch and be flexible enough to bend without snapping. Avoid dry, brittle, or cracked beans, as these indicate a lack of moisture and flavor.
- Quantity: For a "Single-Fold" extract (the strength of most store-bought extracts), aim for approximately 1 ounce (by weight) of vanilla beans per 8 ounces of 80-proof alcohol. This usually translates to about 5-7 whole beans for an 8-ounce bottle, or 2-3 beans for a smaller 4-ounce bottle. For a "Double-Fold" or "Type B" extract, use 2 ounces of beans per 8 ounces of alcohol for a more potent, concentrated flavor.
2. Alcohol (80 Proof)
The alcohol acts as a solvent, extracting the myriad of flavor compounds from the vanilla beans. The key is to use an 80-proof (40% alcohol by volume) spirit.
- Vodka: As mentioned, unflavored vodka is the most common and versatile choice due to its neutral taste, which allows the pure vanilla flavor to shine through beautifully.
- Rum: A dark rum, like spiced or even a good quality amber rum, will add notes of caramel and molasses, creating a warmer, richer extract.
- Bourbon: For a more robust, slightly smoky extract with hints of oak and caramel, bourbon is an excellent choice.
Avoid using alcohol with lower proof, as it won't be as effective in extracting the vanilla compounds and may not preserve the extract indefinitely.
Homemade Vanilla Extract Recipe: Step-by-Step Instructions
Once you have your ingredients, the process of making vanilla extract is incredibly simple. Patience is the main ingredient you'll need after the initial setup!
- Prepare Your Vanilla Beans: Lay each vanilla bean flat on a cutting board. Using a sharp knife, carefully slice each bean lengthwise down the middle, from just below the stem almost to the tip. You want to split the bean open to expose the tiny, fragrant seeds inside. This maximizes the surface area, allowing the alcohol to thoroughly extract the vanilla's precious oils. If your bottles are shorter, you can cut the beans in half or fold them to ensure they fit entirely submerged in the alcohol.
- Fill Your Bottles: Place your prepared vanilla beans into clean, sterilized glass bottles or jars. A common ratio is about 3 prepared beans for a 4-ounce bottle, or 6-7 beans for an 8-ounce bottle. Ensure the beans are snugly fit.
- Add Your Alcohol: Carefully pour your chosen 80-proof alcohol over the vanilla beans, ensuring they are completely submerged. This is crucial for proper extraction and preventing mold. Leave a small headspace at the top of the bottle.
- Label and Store: Affix a label to each bottle, noting the type of vanilla bean, the alcohol used, and the date you started the infusion. This helps you track its progress. Store the bottles in a cool, dark place, such as a pantry or cabinet, away from direct sunlight or heat, which can degrade the vanilla flavor.
- Infuse and Shake: For the next 3 to 6 months (or even longer!), let your vanilla extract steep. During this time, the alcohol will slowly draw out the rich flavors from the beans. Give the bottles a gentle shake once or twice a week. This helps to redistribute the beans and ensure even extraction.
Tips for Success & Longevity
Mastering your
homemade vanilla extract recipe is about more than just combining ingredients; it's about understanding the nuances that lead to perfection and ensuring your investment lasts.
Patience is Your Best Friend
While your extract is technically usable after 6 weeks, the magic truly happens with time. For the richest, most complex flavor, allow your vanilla to steep for at least 3 to 6 months. Many connoisseurs even let theirs age for a year or more. The longer it sits, the deeper and more concentrated the flavor will become. Don't rush it; good things come to those who wait!
The Continuous Extraction Method (Refilling)
One of the most incredible benefits of making your own vanilla is its potential for continuous use. When your bottle runs low, simply top it off with more 80-proof alcohol. The original vanilla beans will continue to infuse the new alcohol, creating an ongoing supply. You can do this several times over the course of a year or two before the beans start to lose their potency. When they do, simply replace them with fresh beans. This method makes your initial investment in vanilla beans incredibly efficient.
To Strain or Not to Strain?
This is a matter of personal preference.
- Straining: If you prefer a clear, sediment-free extract, you can strain out the beans using a fine-mesh sieve or cheesecloth after the desired infusion period.
- Leaving Beans In: Many people choose to leave the beans in the bottle. This not only gives the extract a beautiful, rustic appearance but also allows the flavor to deepen continuously over time. The beans will continue to contribute flavor as long as they remain submerged in alcohol.
If you decide to leave the beans in, remember the continuous extraction method applies perfectly here.
Proper Storage Ensures Indefinite Shelf Life
As long as the vanilla beans remain completely submerged in 80-proof alcohol and stored in a cool, dark place, your homemade vanilla extract has an indefinite shelf life. In fact, like a fine wine, it will only get better with age, developing more depth and complexity over the months and even years. This makes it an enduring staple in any baker's pantry.
Elevate Your Baking with Homemade Vanilla
Once your
homemade vanilla extract recipe has aged to perfection, it’s ready to transform your culinary creations. The difference between homemade and store-bought is palpable. You'll notice a more fragrant aroma, a fuller flavor profile, and a delightful complexity that will make your cookies, cakes, custards, and even coffee truly sing.
Beyond traditional baking, your artisanal vanilla can elevate a myriad of dishes. Add a splash to morning oatmeal, infuse whipped cream, enhance homemade ice cream, or even incorporate it into savory glazes for pork or chicken to add an unexpected layer of warmth. For more ways to infuse creativity into your kitchen, explore how you can
Elevate Your Baking: Customize Homemade Vanilla Extract Easily. If you're eager to start this rewarding journey, our guide on how to
Craft Rich Homemade Vanilla: Just 2 Ingredients & Time for Flavor provides even more detailed insights. Once you've experienced the rich, nuanced flavor of vanilla extract you made yourself, you'll never go back to buying it again.
Conclusion
Making your own homemade vanilla extract is a truly rewarding kitchen endeavor. It’s a simple, two-ingredient project that offers immense value, from significant cost savings to unparalleled flavor customization. With a little initial effort and the virtue of patience, you'll soon have a supply of rich, aromatic vanilla that will elevate all your baking and cooking. Embrace this easy "recipe," and prepare to impress yourself and everyone who tastes the difference!