Elevate Your Baking: Unlock the Secret of Homemade Vanilla Extract
Imagine a rich, aromatic vanilla that doesn't just enhance your baked goods, but truly transforms them. A vanilla so nuanced and deeply flavored, it makes every bite feel like a gourmet experience. What if we told you this exceptional ingredient could be made right in your own kitchen, with just two simple components and a dash of patience? Welcome to the rewarding world of homemade vanilla extract, a culinary game-changer that promises superior taste, significant savings, and endless customization possibilities.
For too long, many of us have settled for imitation vanilla, or reluctantly paid premium prices for pure extract. But learning how to make homemade vanilla extract is one of the most satisfying kitchen projects you can undertake. It's not just about economy; it's about crafting an ingredient tailored to your palate, elevating your desserts, custards, coffees, and so much more. Once you experience the depth of flavor from your own bespoke brew, you'll likely never look back.
The Dynamic Duo: Vanilla Beans & Your Choice of Alcohol
At the heart of every superb homemade vanilla extract recipe lies a simple truth: quality ingredients yield superior results. The beauty of DIY vanilla is that you control both the type and quality of your core components, leading to an extract that far surpasses many store-bought options.
Choosing Your Vanilla Beans: The Soul of Your Extract
The vanilla bean is the star of the show, a fruit packed with hundreds of aromatic compounds. For the richest flavor, seek out plump, moist, and flexible beans. They should feel slightly oily to the touch, indicating a high vanillin content. Avoid brittle or dry beans, as much of their essence has likely evaporated.
- Madagascar (Bourbon) Vanilla Beans: The most common and widely loved, these beans offer a classic, creamy, rich, and sweet vanilla flavor. They are incredibly versatile and perfect for a foundational homemade vanilla extract.
- Tahitian Vanilla Beans: Known for their floral, fruity, and cherry-chocolate notes, Tahitian beans bring a delicate complexity. They are fantastic for desserts where you want a lighter, more aromatic vanilla presence, like fruit tarts or custards.
- Mexican Vanilla Beans: Offering a smoky, spicy, and woody aroma with a hint of cinnamon, Mexican vanilla beans add a unique depth. Consider these for chocolate-based desserts or savory applications.
Experimenting with different bean varieties allows you to craft a truly unique and personalized vanilla extract. You can even combine varieties for a custom blend!
Selecting Your Alcohol: The Flavor Carrier
The alcohol in your vanilla extract isn't just a preservative; it's a solvent that extracts the precious oils and flavors from the vanilla beans. The choice of alcohol significantly influences the final flavor profile. Always opt for an 80-proof (40% alcohol by volume) liquor, as this alcohol content is ideal for efficient extraction.
- Vodka: This is the most popular choice for a classic homemade vanilla extract recipe, and for good reason. Vodka is a neutral spirit, meaning it provides a clean canvas that allows the pure vanilla flavor to shine through without imparting any competing notes of its own. It's perfect for a versatile extract suitable for any baking project.
- Rum: For those who love a hint of warmth and sweetness, dark or amber rum is an excellent option. It introduces rich, caramel, and slightly molasses-like undertones that beautifully complement the vanilla, making it exceptional for recipes like rum cakes, pecan pies, or even coffee.
- Bourbon: If you desire a robust, smoky, and slightly woody depth, bourbon is your spirit. Its inherent caramel and oak notes marry wonderfully with vanilla, creating a sophisticated extract perfect for robust chocolate desserts, BBQ sauces, or anything that benefits from a bolder flavor profile.
Beyond these popular choices, feel free to experiment with other spirits like brandy for a fruity sweetness, or even spiced rum for an adventurous twist. The possibilities for crafting rich homemade vanilla are truly endless.
Crafting Your Custom Extract: A Step-by-Step Guide
Making your own vanilla extract is surprisingly simple and requires minimal effort for maximum reward. Here's a straightforward guide to get you started on your very own homemade vanilla extract recipe.
What You'll Need:
- Vanilla beans (approximately 1 ounce of beans for every 8 ounces of alcohol for a "single-fold" extract, or double that for a "double-fold" gourmet extract)
- 80-proof alcohol of your choice (Vodka, Rum, or Bourbon are excellent starting points)
- Clean, airtight glass bottles or jars (4-ounce or 8-ounce sizes are convenient for gifting and storage)
- A sharp knife and cutting board
- Labels or tags for dating
The Process:
- Prepare Your Beans: Lay each vanilla bean on a cutting board. Using a sharp knife, carefully split the beans lengthwise, from just below the stem to about half an inch from the bottom. This exposes the tiny vanilla seeds and significantly increases the surface area, allowing the alcohol to efficiently extract all those precious oils and flavors. If your bottles are shorter, you can cut the beans in half or fold them to ensure they fit completely submerged.
- Load Your Bottles: Place the prepared vanilla beans into your clean glass bottles or jars. A good rule of thumb for a standard extract is about 3 beans per 4-ounce bottle, or 6 beans per 8-ounce bottle. For a stronger, "double-fold" extract (like what professional bakers often use), you'd double the bean quantity.
- Fill with Alcohol: Carefully pour your chosen alcohol over the beans, ensuring they are fully submerged. Leave a small headspace at the top of the bottle.
- Label and Store: Affix a label to each bottle, noting the type of vanilla beans, the alcohol used, and the date you started the infusion. This helps you track its progress and easily identify different batches. Store the bottles in a cool, dark place, such as a pantry or cupboard, away from direct sunlight and heat.
- Shake and Steep: The magic of infusion takes time. Give your bottles a gentle shake once or twice a week. This helps agitate the mixture, ensuring the alcohol continuously comes into contact with the vanilla beans and encourages optimal flavor extraction.
Patience is a Virtue: The Art of Infusion
While the process of assembling your homemade vanilla extract is quick, the key to truly exceptional flavor lies in patience. Resist the urge to use it too soon!
- Minimum Steep Time: Allow your vanilla to steep for at least 6 weeks. At this point, it will have developed a noticeable vanilla aroma and taste, making it suitable for general baking.
- Optimal Flavor Development: For a truly rich, deep, and complex vanilla flavor, aim for 3 to 6 months of infusion. The longer it sits, the more robust and nuanced the extract becomes, as the alcohol slowly draws out every intricate compound from the beans. Some connoisseurs even let theirs infuse for a year or more!
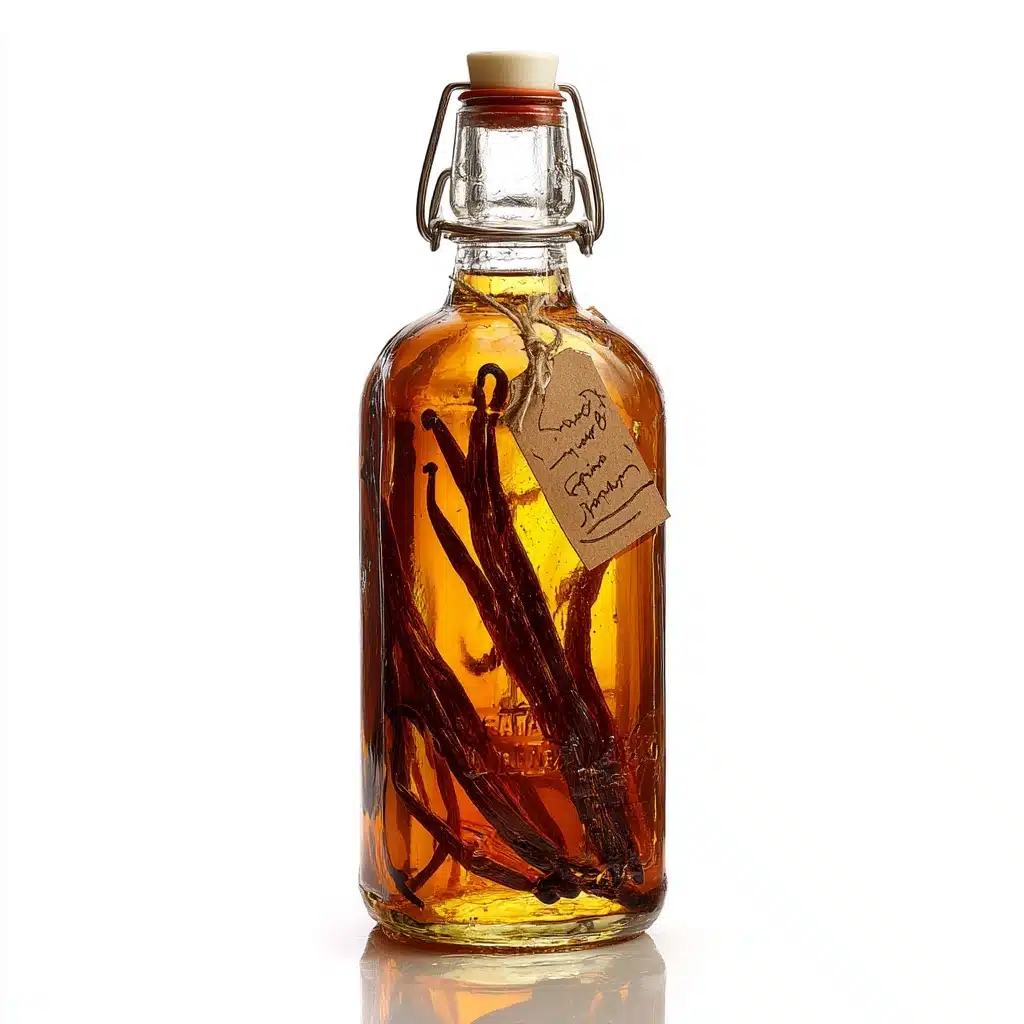
As the weeks turn into months, you'll notice the alcohol gradually darken to a beautiful amber or golden brown, a visual testament to the powerful transformation taking place within. This aging process is crucial, allowing the delicate flavor molecules to fully develop and integrate.
Gifting Your Golden Creation & Long-Term Enjoyment
A bottle of homemade vanilla extract is more than just an ingredient; it's a thoughtful, handcrafted gift that speaks volumes. It's perfect for holidays, housewarmings, bridal showers, or as a special thank-you for any baking enthusiast.
- Presentation Matters: Enhance your gift with a simple tag detailing the ingredients and start date, a festive ribbon, or even a personalized label. Suggest to the recipient that they can continue to top off the bottle with alcohol for a perpetual supply!
The Perpetual Vanilla Supply
One of the most incredible benefits of making your own vanilla extract is its longevity and reusability. As long as the vanilla beans remain submerged in alcohol, your extract has an almost indefinite shelf life. In fact, like a fine wine, it often improves with age, becoming deeper and more complex over time.
When your bottle starts running low, simply top it off with more 80-proof alcohol. Ensure the beans are always fully covered. Give it a gentle shake and allow it to steep again for a few weeks to re-infuse. The original beans can continue to impart flavor for many top-offs, essentially creating a "perpetual vanilla" system.
You have the option to strain the vanilla extract after it has reached your desired strength if you prefer a perfectly clear extract. However, many enjoy leaving the beans in the bottle for a more rustic aesthetic and to allow the flavor to continually deepen. Plus, those beautiful beans are a visual reminder of the pure quality within.
Conclusion: A Taste of Homemade Excellence
Embarking on the journey of making your own homemade vanilla extract is a truly rewarding endeavor. It's a simple, two-ingredient homemade vanilla extract recipe that empowers you to control the quality, customize the flavor, and significantly save money compared to store-bought versions. From the initial split of the bean to the patient months of infusion, you're crafting a pure, potent elixir that will elevate every dish it touches.
Whether you're a seasoned baker or just starting your culinary adventures, adding a bottle of bespoke vanilla extract to your pantry is a decision you won't regret. So, choose your beans, pick your spirit, and let the magic of time transform these humble ingredients into a golden perfection that will undoubtedly become a staple in your kitchen.
